
🌱 GrowMore CookMore App
Know what to sow, when to harvest, and discover recipes for your garden produce.

Right then, we’ve reached the end of the growing season, and I want to talk about something that most people completely ignore — looking after your tools. I know. I can almost hear the collective groan. “Tony, cleaning tools? That’s your big topic?” And yes, I get it. It’s not glamorous. It’s not exciting. Nobody’s posting before-and-after photos of their freshly oiled spade on Instagram. But here’s the honest truth: the state of your tools affects everything you do in the garden, and taking an afternoon to clean, sharpen, and store them properly at the end of the season will save you money, make your work easier, and mean your tools last decades instead of years.
I learned this lesson the expensive way. My first few years on the allotment, I’d just leave everything leaning against the shed wall through winter. Spades caked in mud, secateurs clogged with sap, the fork with a loose handle that I kept meaning to fix. Come spring, the spade had rusted, the secateurs wouldn’t cut through wet paper, and the fork handle snapped the first time I tried to lift a clump of clay. I had to replace the lot, which cost me over a hundred quid. A hundred quid! All because I was too lazy to spend an hour cleaning up in November. Never again.
Why Tool Maintenance Actually Matters
Let’s start with the practical reasons, because I know some of you need convincing. A sharp spade cuts through soil with significantly less effort than a blunt one. That means less strain on your back, less fatigue, and you get more done in the same amount of time. If you’ve ever noticed that digging gets harder as the season goes on, it’s probably not just because you’re tired — your spade has been getting progressively duller every time you hit a stone or scrape through clay.
Sharp secateurs make clean cuts that heal quickly, reducing the risk of disease entering the plant through ragged wounds. Blunt secateurs crush the stem instead of cutting it, which creates jagged edges that take longer to heal and provide an entry point for fungal infections. If you’ve ever pruned a fruit tree and then wondered why some branches got die-back, the answer might be in the state of your secateurs rather than anything wrong with the tree.
Rusty tools are harder to use, break more easily, and can actually spread diseases between plants. Rust pits in a spade blade create rough surfaces where soil pathogens can hide. If you’ve been digging in a bed that had clubroot and then use the same dirty spade in another bed, you’re potentially spreading the disease around your plot. A clean tool is a healthy tool.
Ronny’s been using the same spade for thirty-five years. THIRTY-FIVE YEARS. Same handle, same blade. He cleans and oils it after every single use without fail. The blade is worn down to about two-thirds of its original size but it’s still sharp and still going strong. Meanwhile, I’ve gone through four spades in six years because I didn’t look after them. His method costs five minutes per use. My method costs thirty quid per replacement. The maths speaks for itself.
Cleaning Your Tools — The Full End-of-Season Treatment
Right, let’s get stuck in. This is the big annual clean-up that all your tools need before they go into storage for winter. It takes about an afternoon and honestly, there’s something quite satisfying about it once you get going. Put the radio on, make a flask of tea, and treat it as a proper workshop session.
Step 1: Gather everything. Get every tool out of the shed, the greenhouse, from behind the compost bin where you left it three months ago, and from wherever else they’ve ended up. Lay them all out so you can see what you’ve got. You’ll probably find a few you’d forgotten about. I found a bulb planter last year that I’d been looking for since April. It was inside the watering can. Don’t ask.
Step 2: Wash off the mud. Fill a bucket with warm soapy water and scrub every metal surface with a stiff brush. Get all the soil off — every bit. Soil left on metal over winter holds moisture against the surface and that’s what causes rust. For stubborn, dried-on clay, soak the tool in the bucket for twenty minutes first and it’ll come off much easier. I use an old washing-up brush for the handles and a wire brush for the metal parts.
Step 3: Remove rust. If there’s existing rust, now’s the time to deal with it. Fine rust can be removed with wire wool or a wire brush. For heavier rust, use a rust converter product — you paint it on, leave it for the recommended time, and it chemically converts the rust into a stable black coating that actually protects the metal. Brilliant stuff. For really badly rusted tools, sand the rust off with coarse sandpaper (80-grit works well) and then work up to finer grades for a smooth finish.

Step 4: Dry everything thoroughly. This is important and often skipped. After washing, dry every tool completely with an old towel. Don’t leave them to air dry — that’s just inviting rust back. Make sure you get into joints and crevices where water likes to hide.
Step 5: Oil the metal parts. Once everything is clean and dry, apply a thin coat of oil to all metal surfaces. This creates a barrier against moisture and prevents rust forming during storage. I use camellia oil (which is traditional for tool maintenance) but WD-40, 3-in-1 oil, or even vegetable oil works fine. Apply it with a rag and rub it in well. For moving parts like secateur joints and hinge pins, use a drop of light machine oil.
Step 6: Treat the handles. Wooden handles dry out, crack, and eventually split if they’re not maintained. Sand down any rough spots or splinters with fine sandpaper, then rub in a coat of linseed oil (boiled linseed oil is best — raw linseed oil takes forever to dry). The oil soaks into the wood, replaces lost moisture, and makes the handle weather-resistant. One coat now and another in spring is usually enough to keep handles in good condition for years.
Here’s Ronny’s trick for storing tools through winter: fill a bucket with sharp sand and mix in about a pint of old engine oil (or vegetable oil if you prefer). After cleaning your tools, plunge the blades into the oily sand a few times. The sand polishes the metal and the oil coats it, giving a protective layer that lasts for months. Keep the bucket in the shed and use it all season — every time you put a tool away, give it a quick plunge in the bucket. Takes five seconds and prevents rust between uses. Game-changing.
Sharpening — The Skill That Makes Everything Easier
Sharpening your tools is one of those things that seems intimidating if you’ve never done it, but it’s actually really straightforward once someone shows you. And the difference it makes is incredible. A properly sharp spade, hoe, or pair of secateurs is an absolute joy to use compared to a blunt one.
Spades and hoes: These need a fairly coarse sharpening. Use a flat mill file (about 25cm long) and file the cutting edge at the existing angle — usually about 30 degrees. You’re not trying to make it razor-sharp, just restore a decent cutting edge. Hold the file at the angle of the bevel and push it along the edge in one direction only (not back and forth). About 10-15 strokes on each side is usually enough. The spade should be able to slice into turf without you having to stamp on it.
Secateurs: These need more precision. Only sharpen the cutting blade (the bevelled one), not the flat anvil blade. Use a sharpening stone — a diamond sharpening stone is ideal because it works on hardened steel. Hold the blade at the existing bevel angle (usually about 20-25 degrees) and draw the stone along the blade in smooth strokes. Finish by removing any burr on the flat side with a single light pass. Your secateurs should be able to cut cleanly through a pencil-thick twig with minimal pressure.
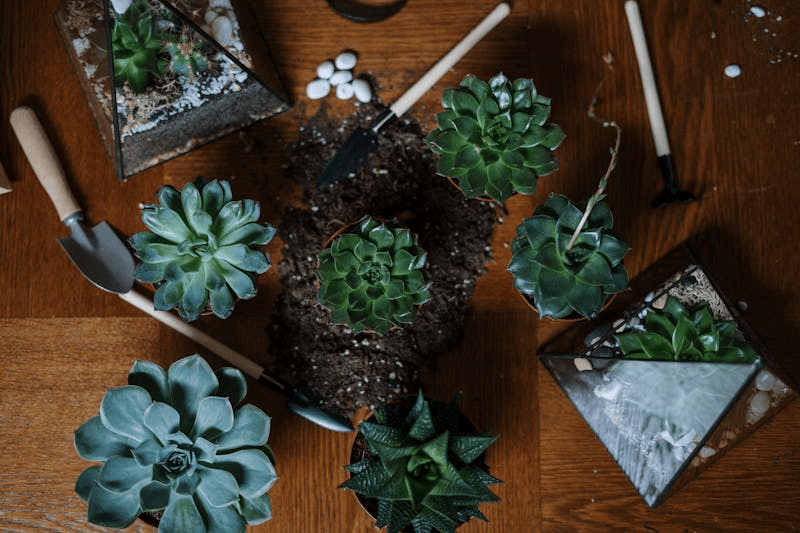
Loppers and shears: Same principle as secateurs — sharpen only the bevelled blade. For loppers, you might need a larger sharpening stone or a file because the blades are bigger. Hedge shears can be sharpened with a flat file, working along the bevelled edge on each blade. Once sharpened, tighten the pivot bolt so the blades just overlap properly — too loose and they won’t cut, too tight and they’ll be hard to open.
Handle Repairs — Don’t Replace When You Can Fix
Loose handles are one of the most common and most dangerous tool problems. A spade head flying off the handle mid-dig is not a joke — it can cause serious injury. If the handle is loose, fix it now while you’ve got time.
For tools where the handle fits through a socket (like spades and forks), the fix is usually simple. Soak the handle end in water for an hour — the wood swells and tightens in the socket. If that doesn’t work, remove the handle, drive a small hardwood wedge into the end grain, and refit it. The wedge expands the wood inside the socket and creates a tight fit. If the handle is split or cracked, replace it. New handles are surprisingly cheap — about five to eight quid from most garden centres — and fitting one is just a matter of knocking the old one out and tapping the new one in.
For tools with bolted handles (like secateurs), check the bolts are tight and replace any that are worn or corroded. A small adjustable spanner and a set of replacement bolts from the hardware shop is all you need. Most secateur manufacturers sell replacement springs too, which is worth knowing because the spring is usually the first thing to go.
Storing Tools Properly — Keep Them Safe and Ready
How you store your tools over winter matters almost as much as how you clean them. A tool left leaning against a damp shed wall will rust regardless of how much oil you put on it. The ideal storage setup keeps tools off the floor, in a dry environment, with air circulating around them.
The cheapest and most effective solution is hooks or nails on the shed wall. Hang everything up — spades, forks, rakes, hoes, the lot. This keeps them off the damp floor, makes them easy to find, and stops them falling on each other (and on you when you open the shed door, which has happened to me more times than I’d like). You can buy proper tool racks, but honestly, a row of nails or hooks works just as well.
Smaller tools like secateurs, trowels, and hand forks can go in a box or hang from a peg board. I’ve got an old shelf unit in my shed with hooks screwed into the underside for hanging secateurs and dibbers. Everything has its place and I can see at a glance what’s there and what’s missing (usually whatever JB has borrowed and not returned).
If your shed is damp — and a lot of allotment sheds are, let’s be honest — consider putting a moisture absorber in there. The refillable ones with the calcium chloride crystals work well and cost a few quid every few months. Or hang a small bag of rice in an old sock — it absorbs moisture from the air. Not as effective as the proper stuff but better than nothing.
- Gather all tools from around the plot and shed
- Wash off all soil with warm soapy water and a stiff brush
- Remove any rust with wire wool, sandpaper, or rust converter
- Dry everything thoroughly — don’t leave tools to air dry
- Oil all metal surfaces with camellia oil, WD-40, or similar
- Sand and oil wooden handles with boiled linseed oil
- Sharpen spades, hoes, secateurs, loppers, and shears
- Fix loose handles with wedges or replace if cracked
- Check and tighten all bolts, nuts, and pivot points
- Hang tools on wall hooks — off the floor, in a dry spot
- Consider a moisture absorber if your shed is damp
- Make a note of any tools that need replacing before spring
Investing in Quality — My Hard-Learned Advice
I’ll finish with this, because it’s something I wish someone had told me when I started out. Buy the best tools you can afford. I know it’s tempting to grab the cheapest spade in the garden centre when you’re starting out — and I did exactly that. But cheap tools bend, break, blunt quickly, and need replacing every year or two. A good quality spade or fork might cost three times as much, but if you look after it properly, it’ll last your entire gardening life. Ronny’s thirty-five-year-old spade cost him twelve pounds in 1991. My four replacement cheap spades have cost me well over a hundred. You do the maths.
The brands I’d recommend for hand tools are Bulldog, Spear & Jackson, and Burgon & Ball for spades and forks. For secateurs, Felco are the gold standard — expensive but they last forever and every part is replaceable. Bahco make excellent secateurs at a slightly lower price point. For shears and loppers, look at Wilkinson Sword — they’ve been making blades for centuries and the quality shows.
Check car boot sales, estate sales, and vintage tool shops too. Old tools were often made to a much higher standard than modern ones, and with a bit of cleaning and sharpening, a second-hand spade from the 1960s can be better than anything new on the market. Some of my best tools were someone else’s cast-offs that just needed a bit of love and attention. Cheap as chips and built to last. My kind of deal.
The cost tracking feature in the GrowMore CookMore app is brilliant for keeping tabs on what you spend on tools and supplies. Log every purchase — seeds, compost, new secateurs, replacement handles — and the app totals it all up so you can see exactly what your garden costs to run each season. It’s also great for working out the cost per kilo of your homegrown veg compared to shop prices, which is always a satisfying calculation. Spoiler: your homegrown stuff wins on quality every single time, and usually on price too once you factor in how much you harvest. Answers on a postcard if you disagree.
Look after yourselves. Take good care. 🌱
Leave a Reply